MARRUTT INKJET PAPERS
Offering high quality inkjet papers in various sizes and finishes.
Over 25 years of supplying print professionals and enthusiasts.
Popular Papers ...
-
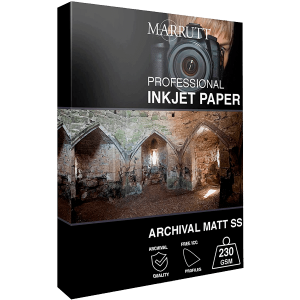
Archival Matt Inkjet Paper 230gsm – Single Sided
From £16.95 (£14.13 Excl VAT) Select options This product has multiple variants. The options may be chosen on the product page -

Pro Photo Gloss Inkjet Paper – 265gsm
From £19.95 (£16.63 Excl VAT) Select options This product has multiple variants. The options may be chosen on the product page -
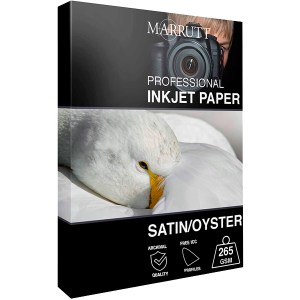
Pro Photo Satin/Oyster Inkjet Paper – 265gsm
From £19.95 (£16.63 Excl VAT) Select options This product has multiple variants. The options may be chosen on the product page -
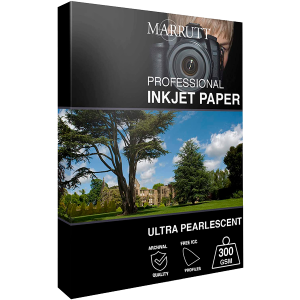
Ultra Pearlescent Hi-White Inkjet Paper – 300gsm
From £21.95 (£18.29 Excl VAT) Select options This product has multiple variants. The options may be chosen on the product page
See our Professional Inkjet Products and help topics below
Inkjet Paper
Used by thousands of high-end photographers and illustrators worldwide. These papers provide the best possible gloss, semi-gloss, matt and fine art media with superior image performance in colour and black & white.
Compatible with both dye and pigment based inks. Superb results on all Epson, Canon, Hewlett Packard and Brother Inkjet Printers.
Ink Solutions
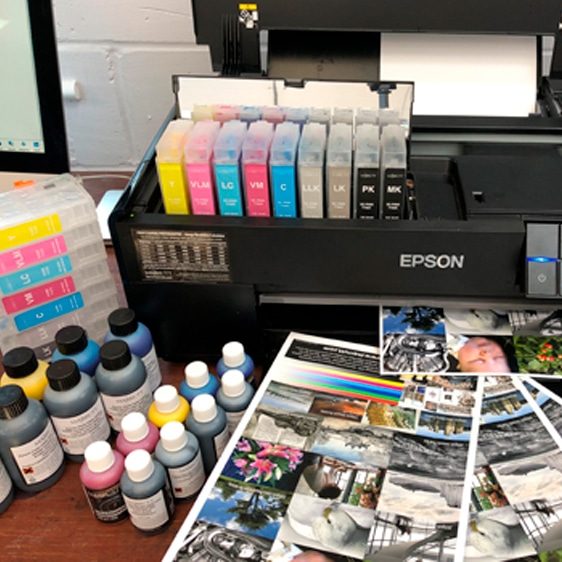
The Marrutt Inkset image performance and longevity are fully tested and approved – many of the world’s finest commercial photographers make use of the Marrutt Pro Ink every day, producing great work in colour and monochrome while making excellent savings.
Click below to find our ink saving solutions for your printer.
Presentation
See our range of cost-effective presentation products that will allow you to showcase and display your prints in a stylish and professional manner.
Our growing range of presentation products include the popular self-adhesive Pro PhotoMount, the re-usable Pro PhotoBooks, Competion Card mount and our very own Vu Max Acrylic Frame Kits.
Help & Support
We pride ourselves in our high standard of support and after-sales service helping you to achieve the best possible results effectively and reliably.
As well as our telephone support, we also have a huge library of online help resources including inkjet training movies, Adobe Photoshop video tutorials, inkjet printing articles, FAQs, ICC printer profiles and more.
